Phones
How to Set Up Your Smartphone for Time Lapse
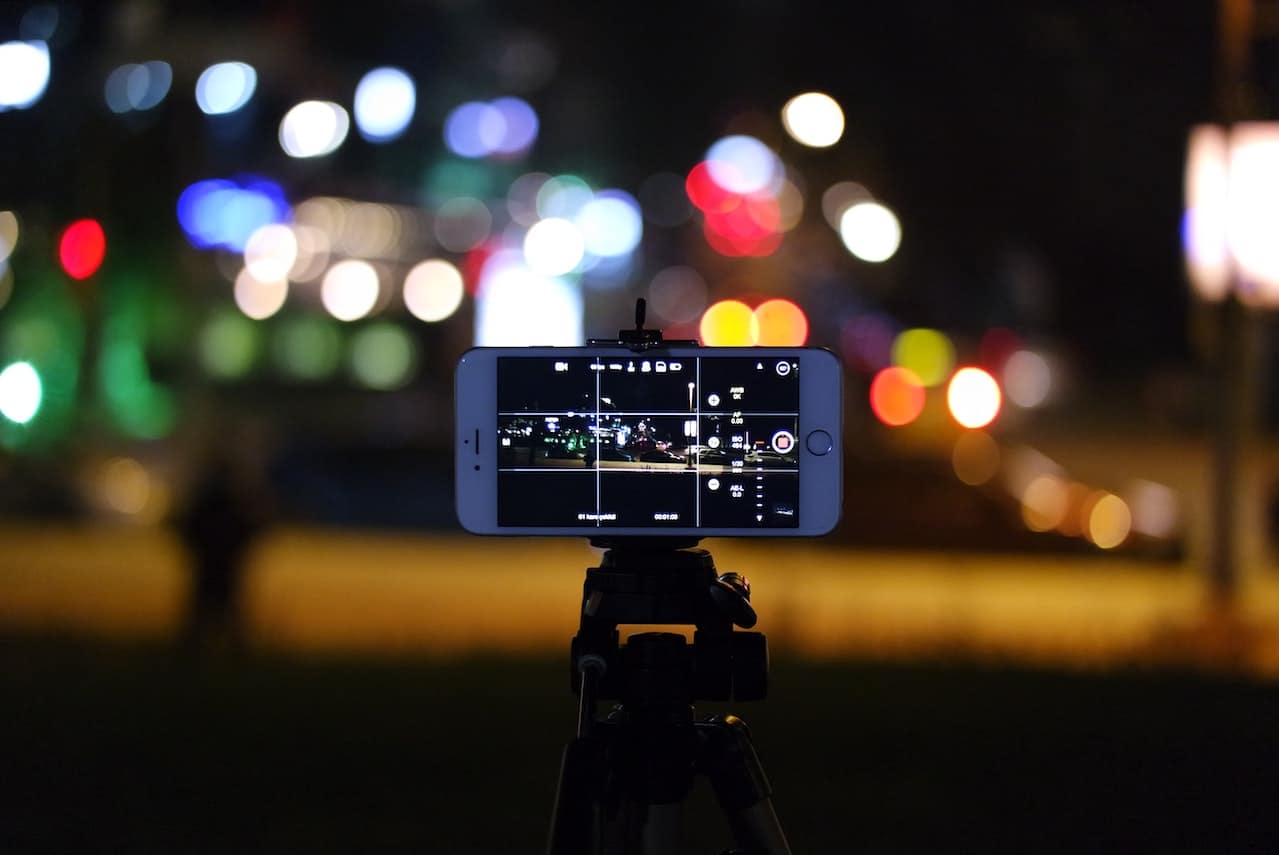
In the realm of photography and videography, time-lapse is a mesmerizing technique that lets us witness the subtle dance of time in a compressed format. It brings to life the slow-moving aspects of our surroundings, from blooming flowers to the passage of clouds. With the advent of sophisticated smartphones, anyone can create these enchanting videos. However, the quality of your output significantly depends on how you set up your device. This comprehensive guide is here to help you understand and master the process of setting up your smartphone for stunning time-lapse videos.
Preparing Your Smartphone
Before you start capturing the fleeting moments of time, it’s crucial to ensure your smartphone is well-prepared for the task. Here are some essential factors to consider:
Storage Space: Time-lapse videos can consume a large amount of storage space. Before you start, check your available storage and ensure you have enough room to accommodate your project. If storage is a concern, consider transferring or deleting unnecessary files.
Battery Life: Time-lapse photography involves capturing images over extended periods, which can drain your battery. Make sure your phone is fully charged before you start. For prolonged sessions, consider using a portable power bank or shoot near a power source where you can keep your phone plugged in.
Screen Brightness: This factor may seem trivial, but managing your screen brightness can conserve battery life. During your shoot, consider reducing your screen brightness to the lowest comfortable setting.
Device Safety: Be aware of your surroundings and make sure your phone won’t be exposed to adverse conditions like rain, or risk being knocked over.
Choosing the Right App for Time Lapse
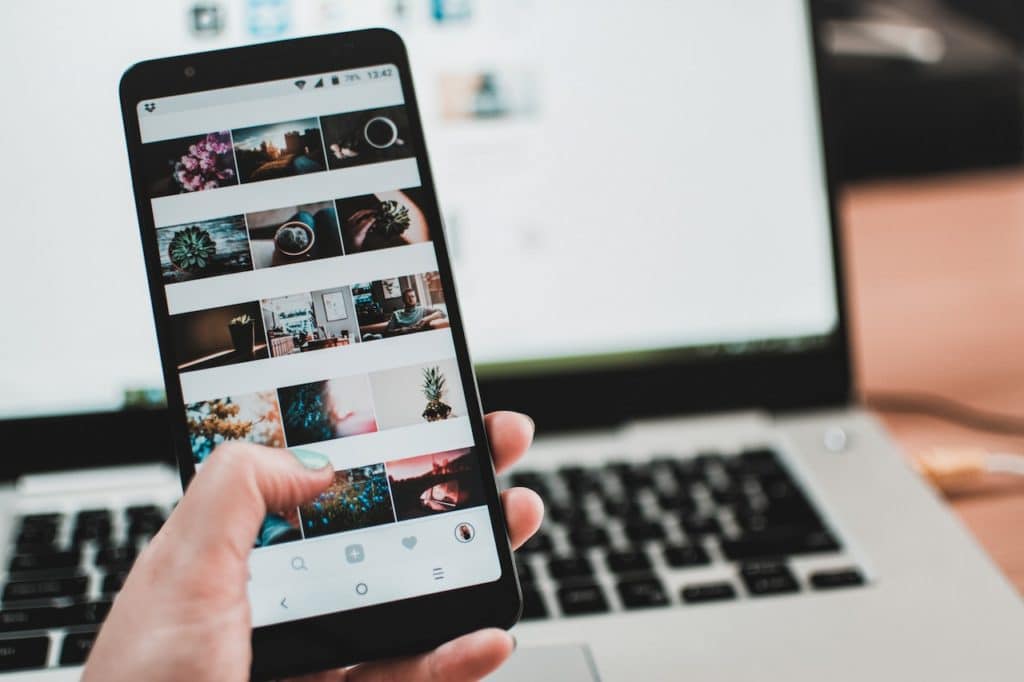
The quality and usability of time-lapse apps can vary greatly. While most smartphones come with a built-in time-lapse feature, you might want to consider third-party apps that offer more control over your time-lapse settings.
Here are a few highly-rated time-lapse apps for both Android and iOS:
- Hyperlapse from Instagram (iOS): This is a user-friendly app that allows you to create smooth, stabilized time-lapse videos. The app offers speed control options, and you can share your videos directly on Instagram.
- Lapse It (Android, iOS): This app comes packed with a full set of features, including focus adjustment, filter options, and even a stop motion mode. It also offers a range of resolutions and coding types to choose from.
- Microsoft Hyperlapse Mobile (Android, iOS): This easy-to-use app creates smooth, stabilized time-lapse videos. It also supports selfie-lapses and provides several speed options.
When choosing a time-lapse app, consider its ease of use, the level of control it gives you over settings, its resolution options, and any additional features it might offer.
Configuring Your Time Lapse Settings
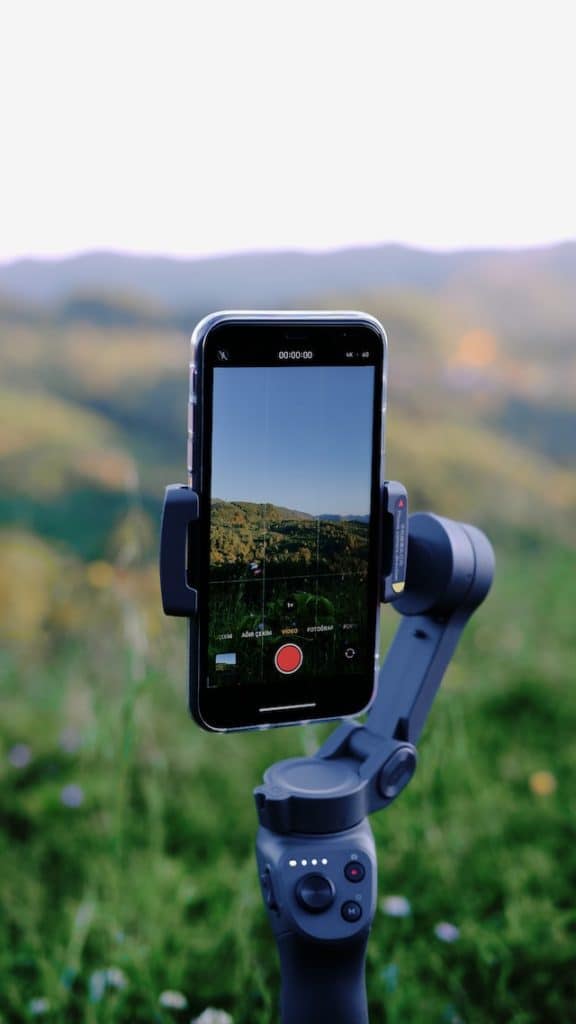
Once you’ve prepared your smartphone and selected the right app, it’s time to fine-tune your settings.
Frame Rate: The frame rate determines how many frames (or images) will be captured per second. Lower frame rates (e.g., one frame per second) are suitable for slow-moving scenes like sunsets, while higher rates are better for faster-paced scenes like city traffic.
Resolution: Higher resolution will give you a sharper, better-quality video but will take up more storage space. Choose a resolution that balances quality and storage capacity.
Exposure: Some apps allow you to adjust the exposure. This is particularly useful when shooting scenes with varying light conditions.
Interval: The interval is the time between each frame captured. Longer intervals are perfect for very slow changes (like the motion of shadows), while shorter intervals are ideal for quicker changes.
Proper Positioning and Stabilization
Capturing an impressive time-lapse video requires more than just selecting the right settings. Positioning and stabilization are key to achieving professional results.
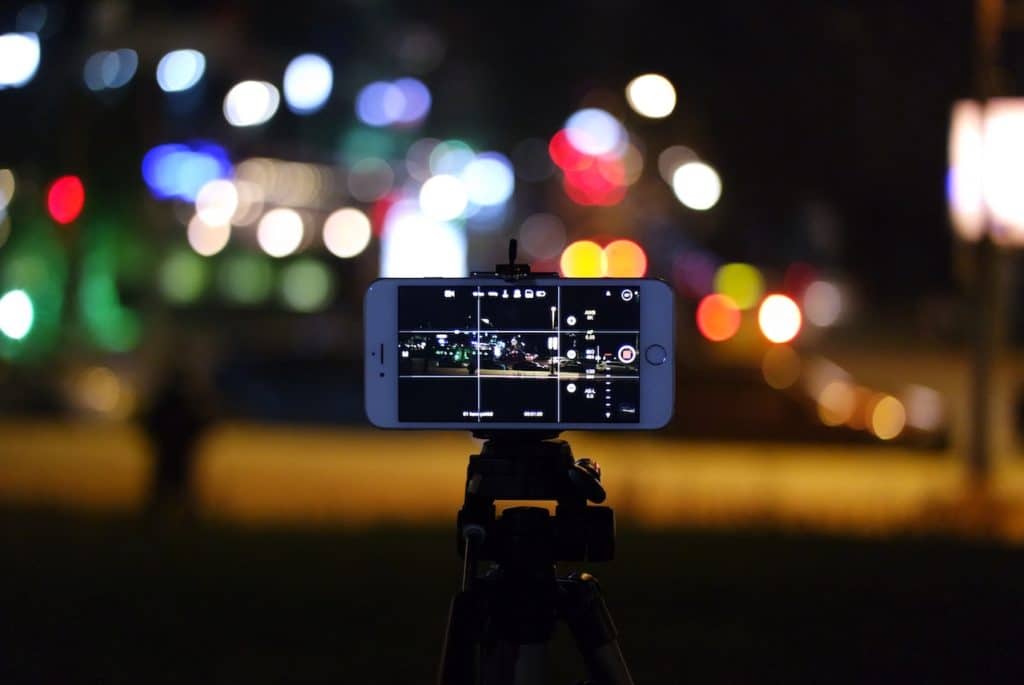
Stability: Time-lapse photography requires absolute stability. Any movement of your phone during the shoot can ruin the footage. A tripod or mount is essential for keeping your phone steady throughout the shooting process.
Positioning: Choose your location and angle carefully. Consider the path of your subject (like the movement of the sun across the sky) and how it will traverse the frame over the shooting period. A well-composed time-lapse can be ruined if the main subject moves out of frame partway through.
Shooting and Editing Your Time Lapse Video
After setting up, it’s time to start shooting. Be patient and let your phone do its work. Avoid touching the device during the shooting process to prevent unwanted movement or changes in settings.
Once you’ve captured your footage, it’s time for editing. You can trim unwanted parts, adjust the speed, or add music to enhance your time-lapse video. Most time-lapse apps provide basic editing features, but for more control, you can use dedicated video editing apps like Adobe Premiere Rush or iMovie.
Conclusion
Creating captivating time-lapse videos with your smartphone is a skill that opens up a world of artistic possibilities. While it may seem a bit daunting at first, with the right preparation, app, settings, and shooting techniques, you’ll be on your way to mastering the art of time lapse in no time. Remember, practice makes perfect. So experiment with different settings, subjects, and scenarios. Who knows? Your next time-lapse video might just capture the world in a way no one has ever seen before.
-

 Business5 months ago
Best Technology Companies To Work For: 10 Top Picks For You
-

 Business5 months ago
Latest Developments In Artificial Intelligence: 5 Best Breakthroughs
-
 Development and Hacking4 months ago
Emerging Technologies In Cyber Security: Full Guide In 2025
-

 Phones4 months ago
Find My Phone Using Google Account: Full How To Guide (5 Steps)
-

 Business4 months ago
Best Tech Cities In The US: 7 Opportunities You Shouldn’t Miss Out
-
 Phones3 months ago
Find Samsung Phone: 6 Great Ways To Find Lost Or Stolen Device
-

 Phones2 months ago
All Google Apps: Ultimate Guide For The Most Useful Ones (2025)
-

 Phones3 months ago
Switch From iPhone To Android: 7 Reasons For Switching Sides

