Cool gadget
How To Open Samsung Remote In 7 Steps [Complete Guide]
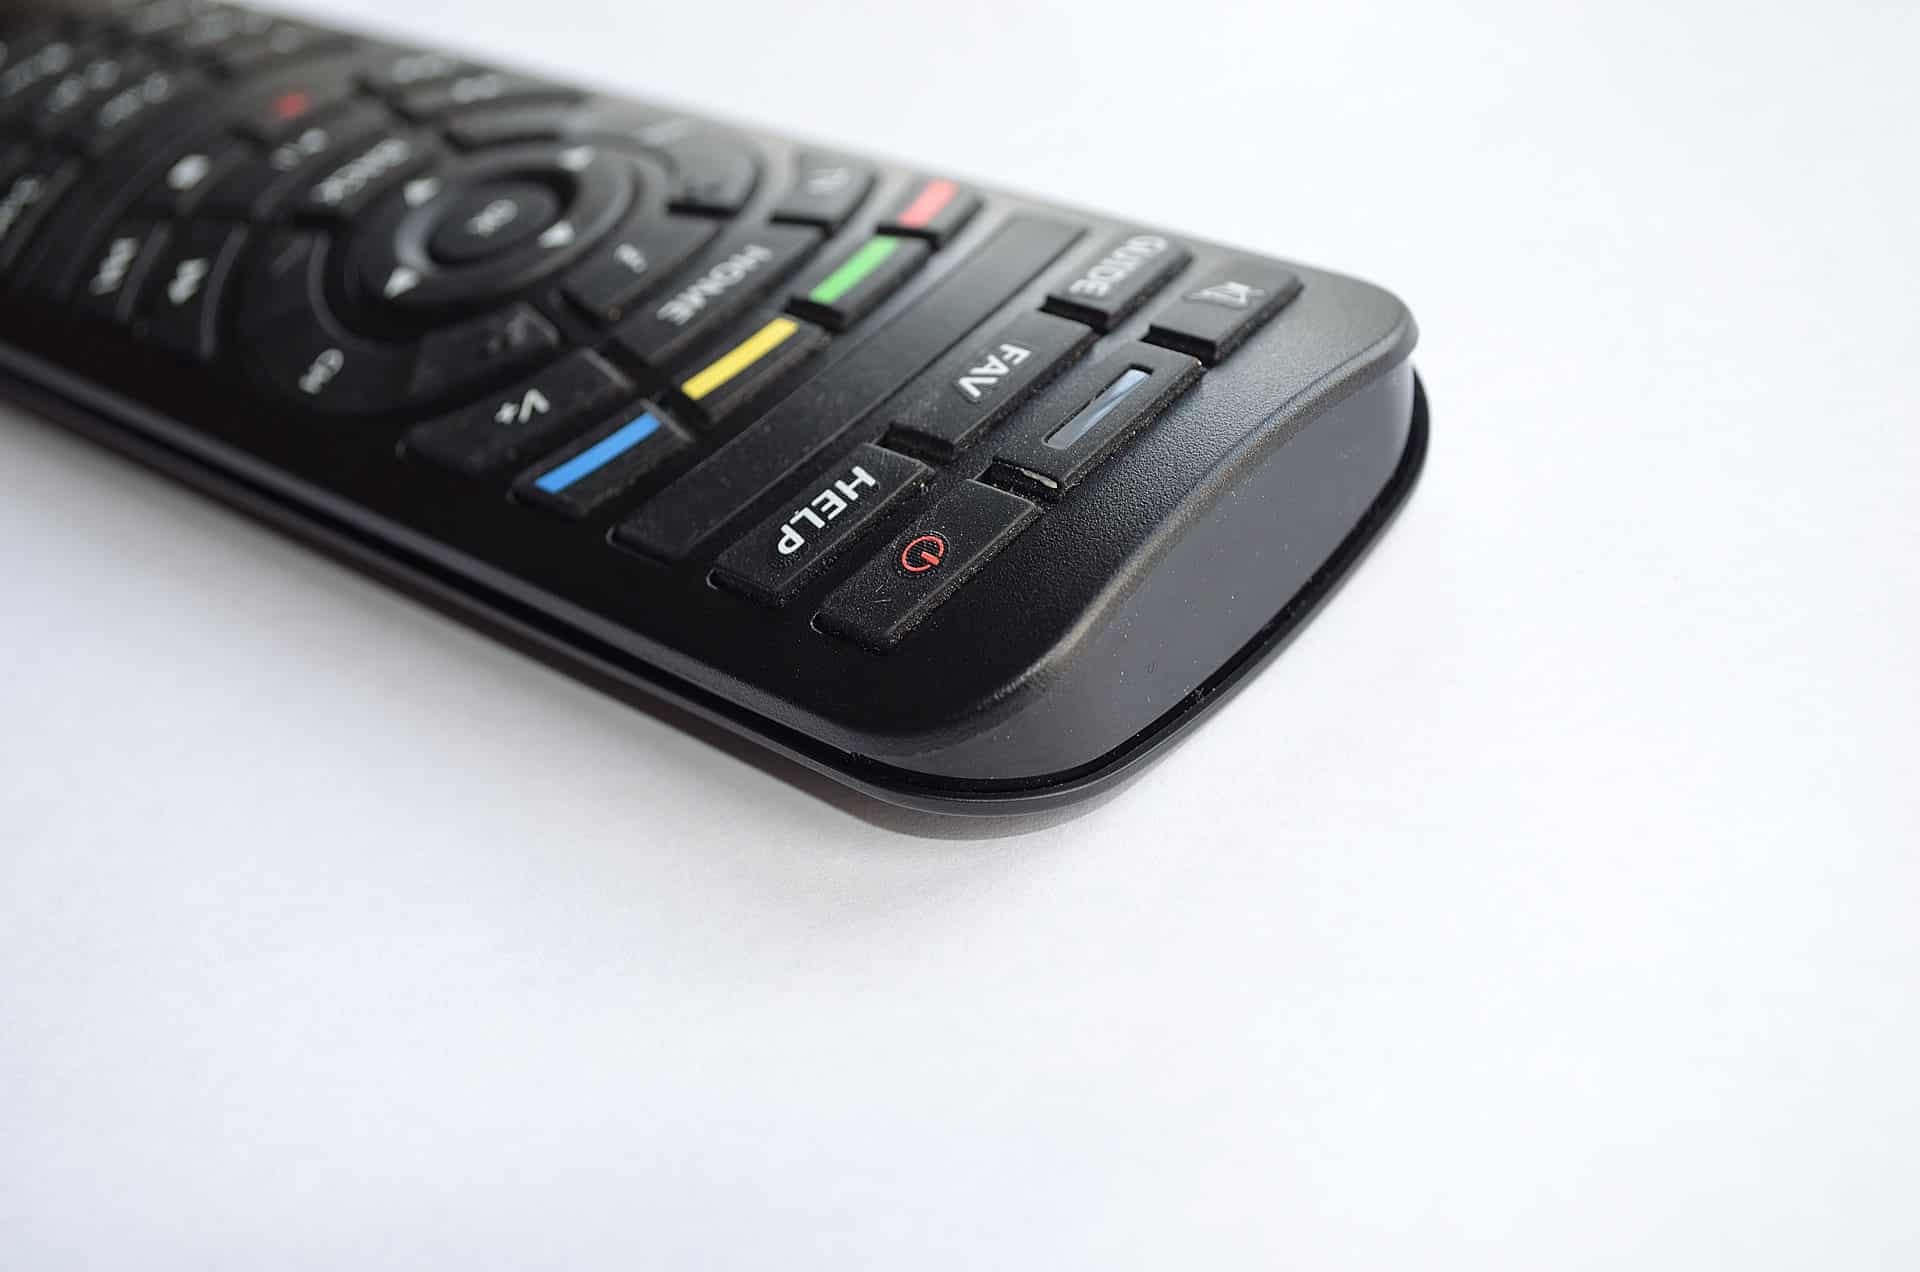
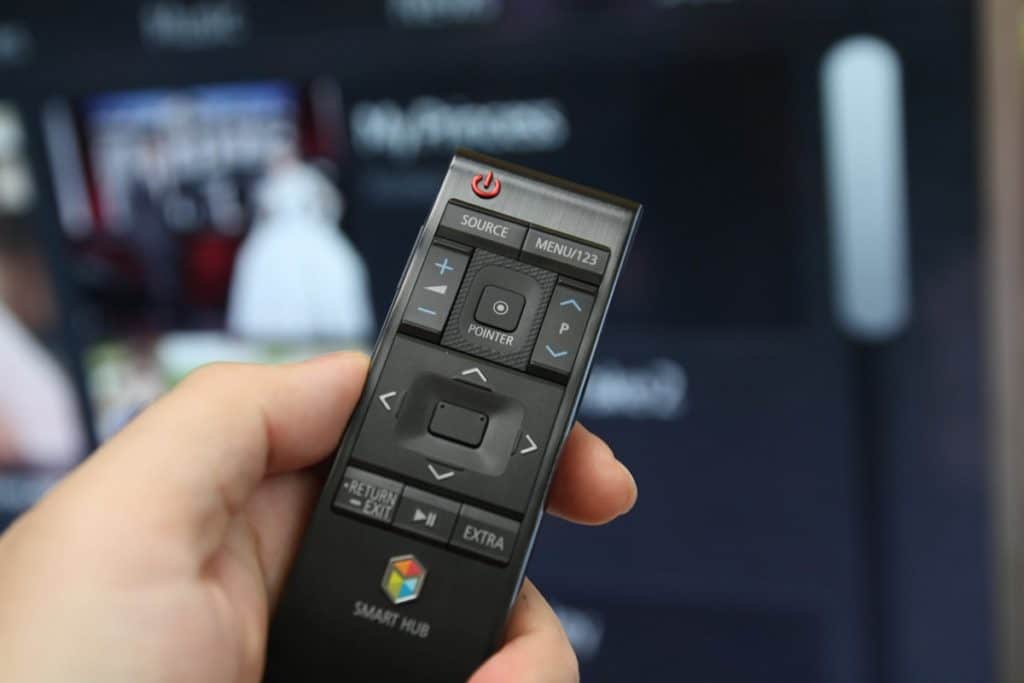
The humble remote control has been a ubiquitous companion in our living rooms for decades, granting us the power to command our entertainment with a simple click. Among the many giants in the tech industry, Samsung has consistently delivered innovative remote control designs to enhance the user experience. However, there may come a time when you need to open your Samsung remote for maintenance, battery replacement, or simply satisfying your curiosity about its inner workings. In this guide, we’ll take you through the steps of “How to Open a Samsung Remote” and reveal the secrets concealed within its compact casing.
Key Takeaways
- Discover the hidden components inside your Samsung remote.
- Learn how to safely open your remote control without damaging it.
- Gain insight into troubleshooting common remote issues.
- Enhance your understanding of remote control technology.
How to Open a Samsung Remote – A Full Guide
Step 1: Gather Your Tools
Before diving into the inner workings of your Samsung remote, ensure you have the following tools at hand:
- A small Phillips-head screwdriver.
- A plastic prying tool or a flat, thin object (like a credit card) for opening the casing.
- Replacement batteries, if necessary.
Step 2: Remove the Batteries
For safety purposes, start by removing the batteries from your Samsung remote. This step is crucial to prevent any accidental electrical discharges while you work on it.
Step 3: Locate the Screws
Turn your remote control over and inspect it carefully. You’ll usually find screws holding the casing together. These screws are typically located under stickers or in the battery compartment. Carefully peel back any stickers or remove the batteries to reveal the screws.
Step 4: Unscrew the Casing
Using the small Phillips-head screwdriver, carefully unscrew the screws. Keep them in a safe place to ensure you don’t lose them. Samsung remotes typically have two to four screws holding the casing together.
Step 5: Open the Casing
After removing the screws, use your plastic prying tool or a flat object to gently separate the two halves of the remote control’s casing. Start at one corner and work your way around the edges, being cautious not to damage the plastic. With a little patience and finesse, the casing should easily pop open.
Step 6: Explore the Interior
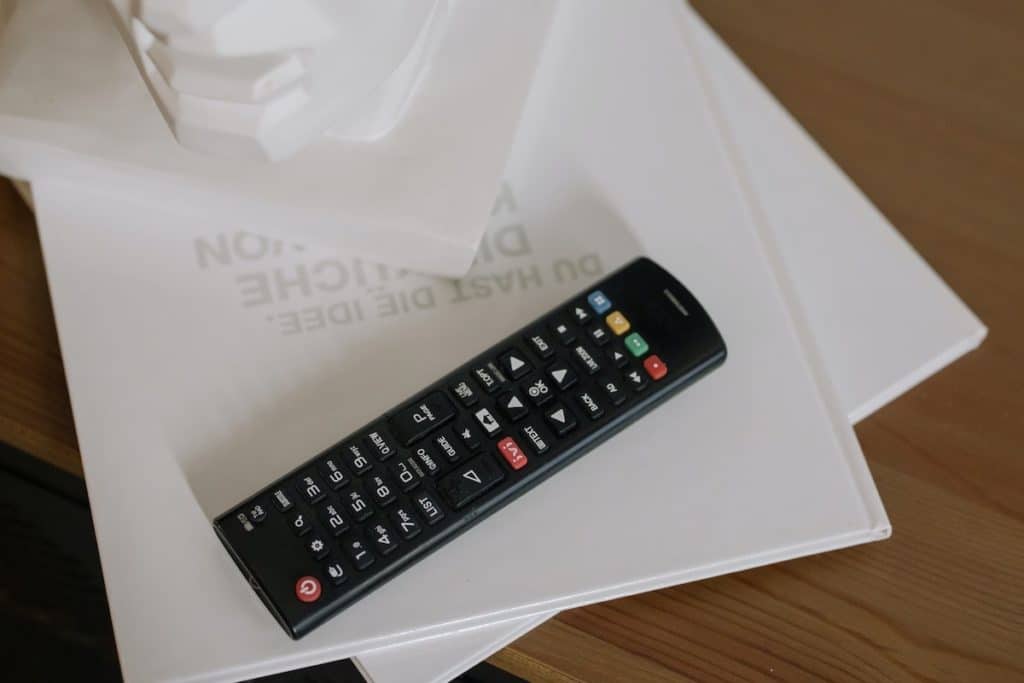
Once the casing is open, you’ll have access to the inner components of your Samsung remote. Take a moment to observe the circuit board, buttons, and any other components that may be inside. This is a great opportunity to clean the interior if it’s dusty or dirty.
Step 7: Reassemble and Test
If your goal was simply to explore the inner workings of your Samsung remote, you can now reassemble it by following the steps in reverse order. Make sure to insert the screws, replace any stickers you removed, and put the batteries back in.
Conclusion
Congratulations! You’ve successfully unlocked the secrets of your Samsung remote control. Opening it up not only gives you a peek into its inner technology but also allows for maintenance and troubleshooting. Remember, always handle electronic components with care, and be sure to reassemble your remote properly to ensure it functions as expected.
By following this guide on “How to Open a Samsung Remote,” you’ve gained valuable insights into the world of remote control technology. Whether it’s for maintenance or pure curiosity, this knowledge empowers you to take control of your entertainment experience in more ways than one.
-

 Business5 months ago
Best Technology Companies To Work For: 10 Top Picks For You
-

 Business5 months ago
Latest Developments In Artificial Intelligence: 5 Best Breakthroughs
-
 Development and Hacking5 months ago
Emerging Technologies In Cyber Security: Full Guide In 2025
-
 Phones5 months ago
Find My Phone Using Google Account: Full How To Guide (5 Steps)
-

 Business4 months ago
Best Tech Cities In The US: 7 Opportunities You Shouldn’t Miss Out
-

 Phones3 months ago
Find Samsung Phone: 6 Great Ways To Find Lost Or Stolen Device
-

 Phones2 months ago
All Google Apps: Ultimate Guide For The Most Useful Ones (2025)
-

 Phones3 months ago
Switch From iPhone To Android: 7 Reasons For Switching Sides


